
Having your own personal weather station is great and all, but what if you want to actually see what the current conditions are without having to open up your live dashboard? What if you could just look at a display in the kitchen for an instantaneous dose of meteorological goodness? That’s where cheapo OLED modules come in.
At first, I had tried the ubiquitous SSD1306. They’re cheap, crisp, and supported by a plethora of libraries for every platform and language you can think of (I’m quite fond of the ThingPulse library for the ESP8266, the UI features are really handy). I have a number of projects around the house using these little modules. However, they have a major problem: readability at a distance. I ended up needing to make each number its own page on a scrolling layout, which means that you need to stand fairly close to the display to read it, and wait for the pages to scroll through to the value you actually wanted to read.
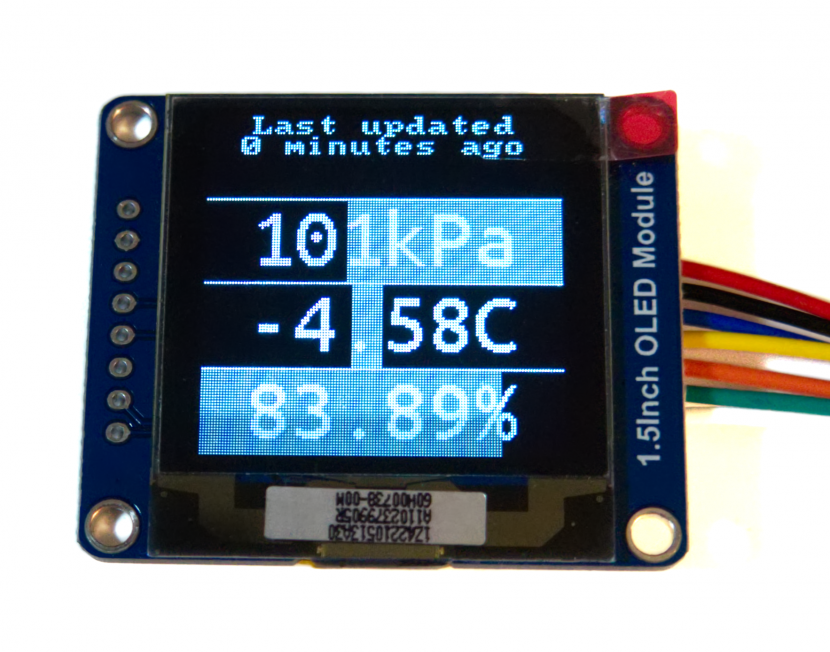
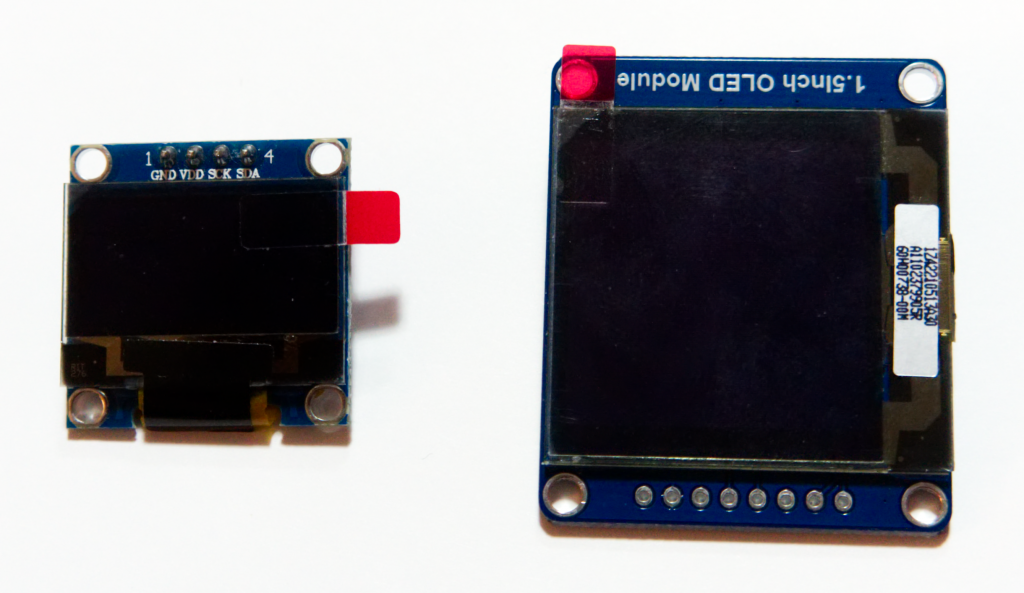
Thankfully, the SSD1306 has a bigger brother: the SSD1327. While the SSD1306 can only drive 128×64 pixels with 1 bit of color depth (i.e. each pixel is either on or off) the SSD1327 can drive 128×128 pixels with 16 levels of grayscale. In addition, SSD1327 modules like the one sold by Waveshare are 1.5″ diagonally, compared to the 0.97″ panels generally found on SSD1306 boards. Sounds like a perfect upgrade, right? Buy the new module, tweak some code, and you’re ready to go! That’s what I thought, until I started trying to actually write firmware for this thing.
The Problem with the SSD1327: Nobody Supports it
As far as I could tell, there were 2 main libraries available for this board: u8g2 and the Waveshare official Arduino sketch (you know it’s going to be quality when they call it a “moudle”). Unfortunately, u8g2 doesn’t support greyscale (it’s designed for 1 bit displays like graphical LCDs), and wouldn’t even output to my unit properly.
Meanwhile, the Waveshare sketch is a real adventure to dissect. The variables are written in title case with underscores. Macros are created for simple digitalwrite calls. Functions are created to wrap delay() and delayMicroseconds() without adding anything useful. It didn’t take long for me to realise that it would be way faster to simply build a library from scratch based on the datasheet than to try and work with the example sketch.
The Solution: Write a New Library from Scratch
So I dove into the datasheet. A couple hundred lines of code and a lot of experimentation later, and I was drawing pixels and scrolling gradients to the display.
The next step was to draw text. For 8×8 characters I used font8x8, but I quickly wanted more options for font sizes. I ended up hacking together a quick and dirty font to header converter using Processing. It’s not pretty, it’s not efficient, and it doesn’t even generate proper header files, but it’s good enough for what I needed.
char thisChar = 0;
String code = "char font16[128][32] = {\n";

void setup(){
  size(16,32);
  textSize(32);
  noSmooth();
  textFont(createFont("Ubuntu Mono", 32));
  background(0);
  fill(255);
  frameRate(10);
}

void draw(){
  background(0);
  text(thisChar,0,26);
  loadPixels();
  code += "{ ";
  for(int i = 0; i < 512; i+=8){
    byte thisByte = 0;
    for(int bit = 0; bit < 8; bit++){
      if(pixels[i+bit] == color(255)){
        thisByte += 1<<bit;
      }
    }
    code += "0x" + String.format("%02X", thisByte);
    if(i!=504){
      code += ", ";
    }
  }
  code += "},\n";
  thisChar++;
  if(thisChar > 128){
    code+="};";
    print(code);
    String[] fileStrings = new String[1];
    fileStrings[0] = code;
    saveStrings("font.h", fileStrings);
    exit();
  }
}
This let me generate Ubuntu Mono font files in 8×16 and 16×32 character sizes. After writing some simple code to draw text, I was able to print char arrays and strings to the display in multiple font sizes. At this point, I deemed the library usable enough for my purposes. Is it a perfect library? Heck no. Fonts are handled poorly, there are no functions for circles or lines, and I don’t have any bitmap functions. However, it can display text and basic custom graphics to a display easily, which is all I (and I suspect many other people) need.

Building the Display Unit
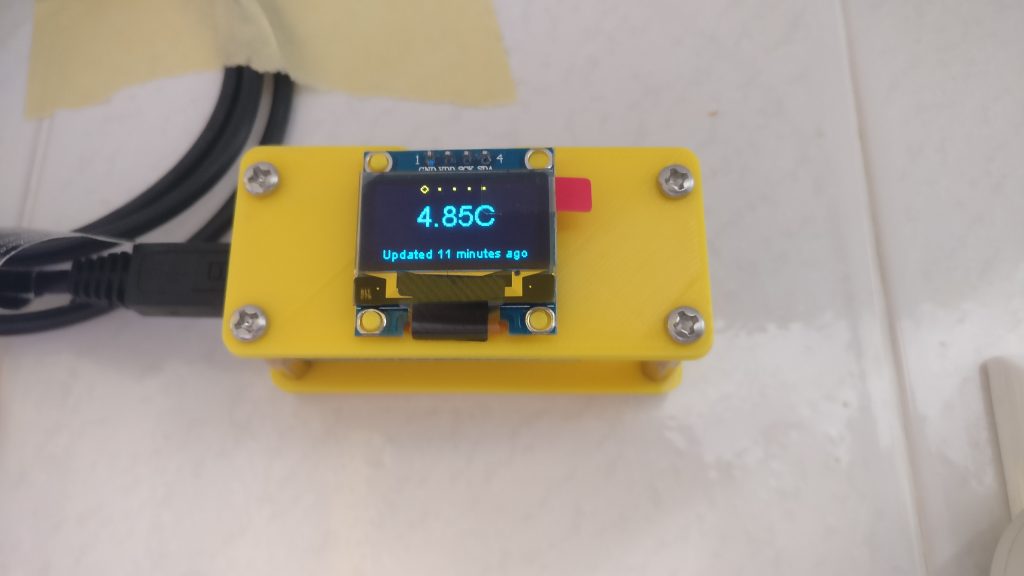
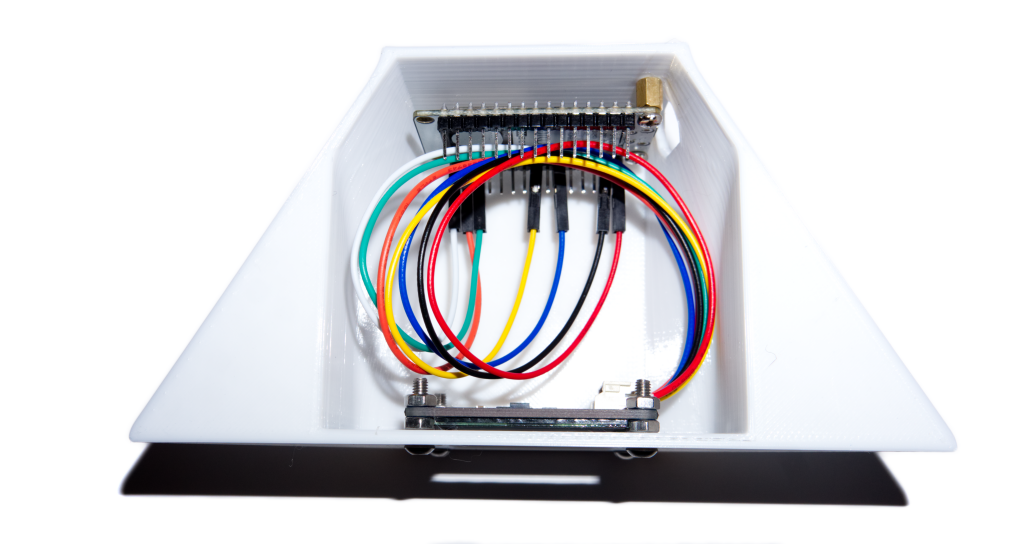
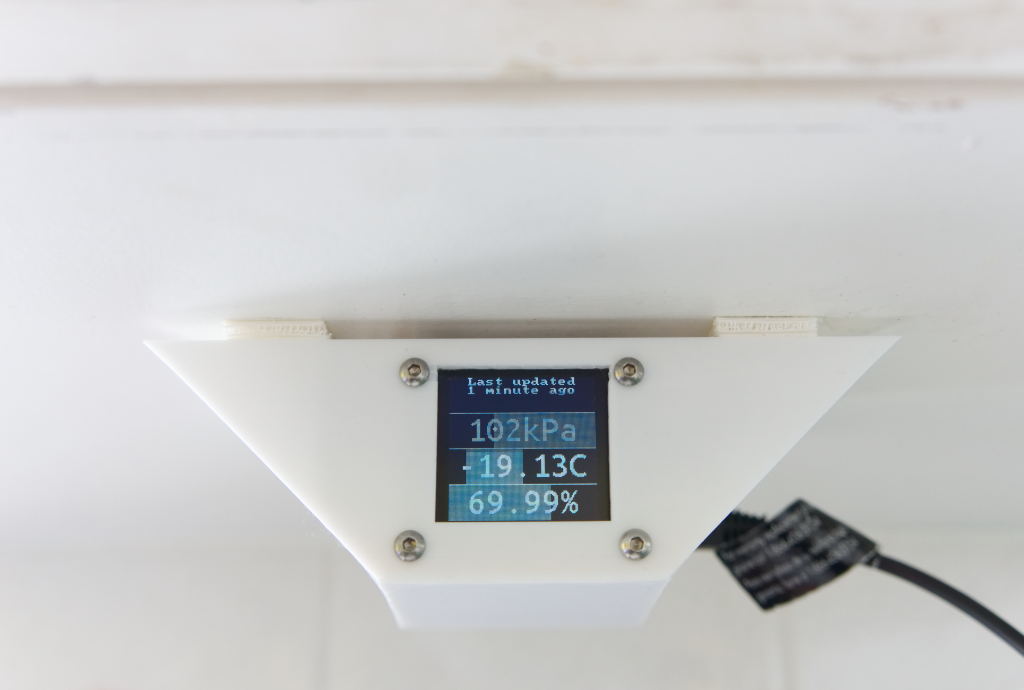
Unlike some of my other projects, I wanted this project to be something that anyone with a 3D printer and some basic fasteners could put together cheaply. As a result, the only parts used were the display module, a NodeMCU board, 2 standoffs, some screws, and some nuts. The housing is a single, easy to print file only requiring support in one spot (the screen bezel). No soldering is required.
The assembled unit can be mounted to a cabinet, shelf, etc by adhering the triangular surfaces on either side to the mounting surface. I decided to use 3M’s Command “Picture Hanging Strips” (essentially some Dual-Lock with a removable adhesive backing) so that I can easily detach the unit for servicing, firmware flashing, etcetera.
Links
The SSD1327 library can be found on Github, and the STL for the housing is on Thingiverse.